
I've inspected hundreds of shower failures across Miami-Dade County over the past decade, and here's what keeps me up at night: nearly 80% of shower leaks trace back to improper shower pan installation. Whether you're renovating a bathroom in Hialeah, upgrading a home in Pembroke Pines, or building new construction in Miami Beach, getting your shower pan right isn't just important—it's absolutely critical.
The good news? With proper installation and waterproofing techniques designed for Florida's brutal humidity, your custom shower pan will protect your home for 20-30 years. Let me show you exactly how.
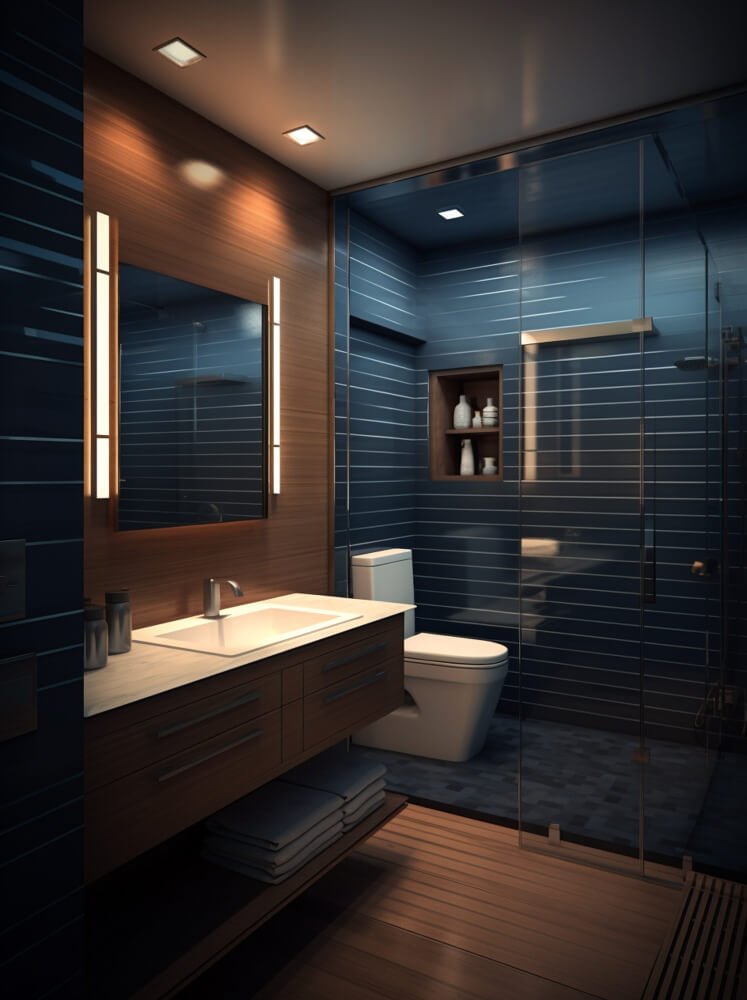
What Is a Shower Pan (and Why Does It Matter)?
A shower pan (sometimes called a shower base or receptor) is the waterproof foundation beneath your shower floor that collects water and directs it to the drain. Think of it as your bathroom's first line of defense against catastrophic water damage.
In South Florida's humid climate, where moisture doesn't just evaporate—it lingers, penetrates, and destroys—your shower pan becomes even more critical. A properly installed pan prevents:
- Subfloor rot from trapped moisture
- Mold growth behind walls and under flooring
- Structural damage to floor joists and framing
- Expensive repairs that can exceed $10,000-$25,000
Types of Shower Pans Available in Hialeah:
1. Prefabricated Shower Pans
Ready-made units typically constructed from:
- Acrylic ($150-$400) - Lightweight, affordable, prone to flexing
- Fiberglass ($200-$500) - Budget-friendly but less durable
- Solid surface ($400-$900) - Durable stone-composite materials
- Tile-ready bases ($500-$1,200) - Foam or composite pans designed for tile installation
2. Custom Mud Pan (Traditional Method)
Built on-site using:
- Pre-slope mortar bed
- PVC or CPE shower pan liner
- Final mortar bed with proper slope
- Custom dimensions for any shower size
3. Modern Waterproofing Systems
Contemporary alternatives like:
- Schluter Kerdi System ($800-$1,500)
- Wedi Board System ($700-$1,400)
- Laticrete Hydro Ban ($600-$1,200)
- Tile Redi Pans ($500-$1,300)
Each system has distinct advantages depending on your Hialeah bathroom's specific requirements, budget, and timeline.
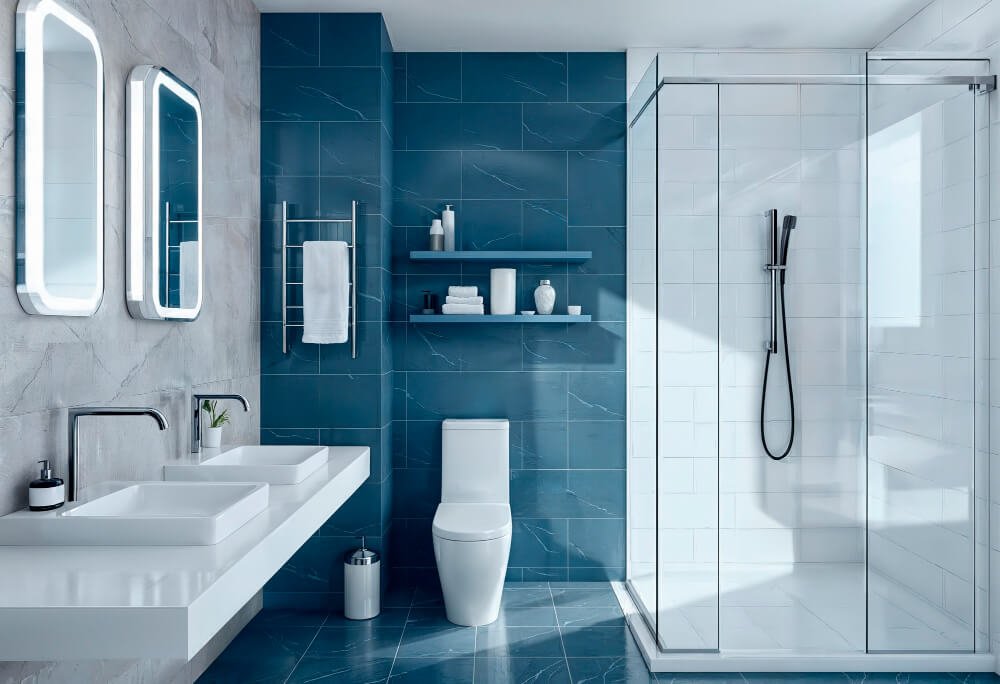
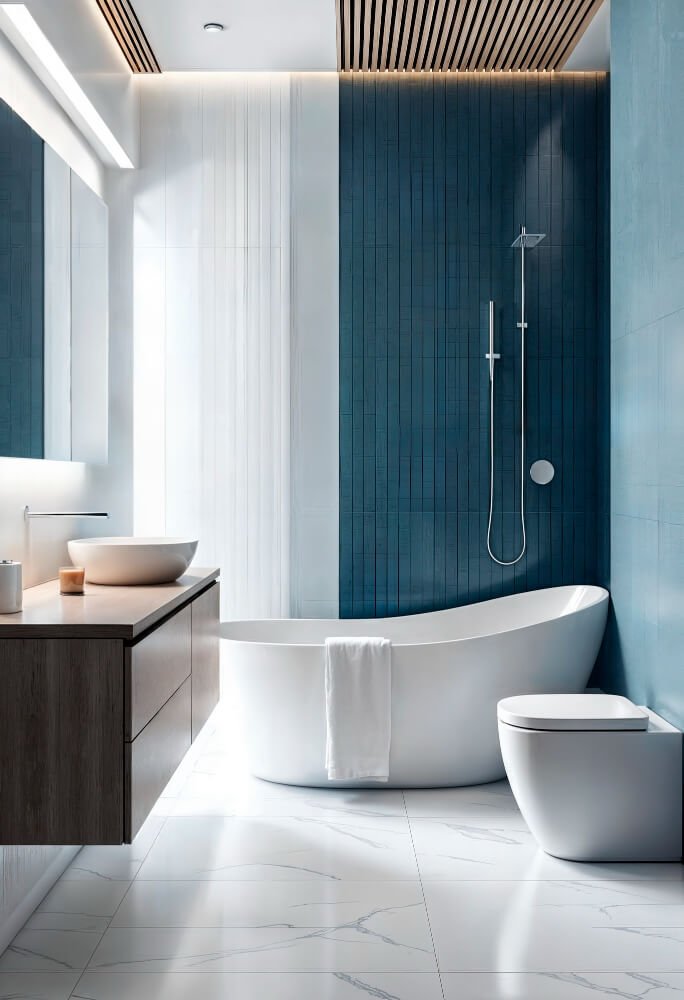
Why Custom Shower Pans Excel in Florida
Here's what contractors won't always tell you upfront: prefabricated pans work fine for standard-sized showers in perfect conditions. But Hialeah homes—especially those built before 1990—often feature:
- Non-standard bathroom dimensions
- Unique drain placements
- Floor slope challenges
- Older plumbing configurations
Custom shower pan installation solves these problems by:
Accommodating Any Size or Shape
Need a 42"x54" shower? A neo-angle design? An accessible 60"x36" roll-in shower? Custom pans adapt to your exact specifications.
Precise Drain Positioning
Work around existing plumbing without expensive re-routing. Position drains for optimal water flow regardless of shower configuration.
Integrating Seamlessly with Tile
Custom mud pans or tile-ready systems create perfectly flat surfaces for large-format tile, mosaic patterns, or any design aesthetic you prefer.
Long-Term Durability
Properly installed custom pans using quality materials outlast most prefab options—we're talking 25-30+ years versus 10-15 years.
The Waterproofing Reality: Florida Building Code Requirements
Let's talk about what's actually required by law in Miami-Dade County, because I see violations constantly.
Florida Building Code Plumbing (2026 Edition) Requirements:
For Shower Pan Liners:
- Minimum 40 mil thick PVC or 40 mil CPE membrane
- Liner must extend 2 inches minimum above finished threshold
- Corners must be properly folded (not cut) to maintain waterproof integrity
- Liner must be pitched 1/4" per foot toward drain
- Test period: Pan must hold 2 inches of water for 24 hours minimum
For Bonded Waterproofing Membranes:
- Approved systems (Schluter Kerdi, Laticrete Hydro Ban, RedGard, etc.)
- Must cover all shower surfaces including walls, pan, curb
- Applied according to manufacturer specifications
- No gaps, tears, or improper overlaps
- Membrane extends minimum 6" beyond shower boundaries
Critical Florida-Specific Considerations:
Miami-Dade County falls under High Velocity Hurricane Zone (HVHZ) and requires:
- Product Control approval for waterproofing materials
- Licensed contractor installation for permit compliance
- Inspection at rough-in and final stages
- Documentation of materials used
I can't emphasize this enough: Cutting corners on waterproofing is the #1 mistake homeowners make trying to save money. That $500 you save now will cost you $15,000+ when you're tearing out rotted subfloors in two years.
For guidance on selecting qualified professionals, read our article on choosing a licensed bathroom contractor in Hialeah FL.
Custom Shower Pan Installation Methods Compared
Method 1: Traditional Mud Pan (The "Old School" Approach)
This time-tested method has worked for 70+ years and remains the gold standard for custom shower installations.
The Process:
1. Pre-slope Installation
- Mix deck mud (sand + Portland cement, 4:1 or 5:1 ratio)
- Create 1/4" per foot slope toward drain
- Minimum 1/2" thickness at drain, 1.5" at perimeter
- Allow 24-48 hours curing time
2. Liner Installation
- Clean and prepare pre-slope surface
- Install 40 mil PVC liner in one continuous piece
- Fold corners properly (accordion-style, never cut)
- Clamp liner to drain assembly
- Extend 2"+ above threshold height
- Fasten to studs above threshold line only
3. Final Mud Bed
- Install protective layer over liner (roofing paper or fabric)
- Build final mortar bed (1.5"-2" thickness)
- Maintain 1/4" per foot slope to drain
- Trowel smooth for tile installation
- Cure 24-48 hours before tiling
Advantages
- Completely custom dimensions
- Time-proven durability (25-30+ years)
- Excellent for irregular shower shapes
- Repairable if issues arise
- Works with any drain placement
Disadvantages
- Labor-intensive (3-5 days total)
- Requires skilled craftsmen (increasingly rare)
- More expensive ($1,200-$2,500 for pan alone)
- Multiple curing periods extend timeline
- Higher risk if improperly installed
Method 2: Schluter Kerdi System (Modern Bonded Membrane)
This German-engineered system revolutionized shower waterproofing and has become an industry standard.
The Process:
1. Substrate Preparation
- Install Schluter Kerdi-Board or cement backer board
- Ensure flat, stable surface
- Install Kerdi-Drain assembly
2. Membrane Application
- Apply thin-set mortar (unmodified)
- Embed Kerdi membrane in wet thin-set
- Overlap seams minimum 2"
- Install Kerdi-Band at corners and transitions
- Apply second thin-set layer over membrane
3. Tile Installation
- Tile directly over cured membrane
- Use appropriate thin-set for tile type
- No waiting period after waterproofing
Advantages
- Faster installation (1-2 days vs. 4-5 days)
- Bondable waterproofing (no liner failure risk)
- Lighter weight (important for second-floor bathrooms)
- Manufacturer warranty available
- Consistent results when installed correctly
Disadvantages
- Higher material costs ($800-$1,500 for typical shower)
- Requires precise installation technique
- Not easily repairable if damaged
- Learning curve for installers unfamiliar with system
Method 3: Tile Redi and Prefab Foam Systems
These pre-sloped foam pans offer DIY-friendly installation with professional results.
The Process:
1. Subfloor Preparation
- Ensure level, stable subfloor
- Calculate mortar bed thickness needed
- Test-fit drain alignment
2. Mortar Bed Installation
- Spread Type N or Type S mortar evenly
- Set pan into wet mortar
- Check level and alignment
- Allow 24-48 hours curing
3. Waterproofing & Tile
- Apply surface membrane (Redgard, Hydro Ban, etc.)
- Tile directly over waterproofed surface
Advantages
- Pre-sloped (eliminates slope errors)
- Lighter weight than mud
- Faster than traditional methods
- More DIY-friendly
- Various standard sizes available
Disadvantages
- Limited to standard dimensions
- Mortar bed still required underneath
- Can flex if not properly supported
- May have height limitations
- Custom sizes expensive
Cost Breakdown: What You'll Actually Pay in Hialeah
Let's talk real 2026 numbers for Miami-Dade County installations:
Custom Mud Pan Installation Costs:
Materials:
- Pre-slope mortar (80 lb bags): $15-$20 x 3-5 bags = $60-$100
- PVC pan liner (standard shower): $80-$150
- Drain assembly (clamp or solvent-weld): $45-$120
- Final mortar bed materials: $60-$100
- Miscellaneous (fasteners, tape, paper): $30-$50
Material Total: $275-$520
Labor:
- Experienced shower pan installer: $850-$1,500
- Timeline: 3-4 days (includes curing time)
Labor Total: $850-$1,500
Grand Total: $1,125-$2,020
for custom mud pan only (not including tile, walls, or fixtures)
Schluter Kerdi System Costs:
Materials:
- Kerdi-Shower Kit (48"x48"): $500-$700
- Kerdi membrane (rolls): $150-$250
- Kerdi-Band (corners/seams): $40-$80
- Unmodified thin-set: $50-$80
- Kerdi-Drain: $120-$180 (often included in kits)
Material Total: $860-$1,290
Labor:
- Certified Schluter installer: $800-$1,400
- Timeline: 2-3 days
Labor Total: $800-$1,400
Grand Total: $1,660-$2,690
for complete Kerdi system installation
Tile Redi System Costs:
Materials:
- Tile Redi pan (standard 36"x60"): $450-$800
- Mortar for bedding: $40-$60
- Surface waterproofing membrane: $80-$150
- Drain connection: $30-$60
Material Total: $600-$1,070
Labor:
- Installer (less specialized than mud pan): $600-$1,000
- Timeline: 2 days
Labor Total: $600-$1,000
Grand Total: $1,200-$2,070
for Tile Redi installation
Prefabricated Acrylic/Fiberglass Pan Costs:
Materials:
- Standard 36"x36" acrylic pan: $150-$400
- Mortar bed (if required): $30-$50
- Drain assembly: $25-$50
Material Total: $205-$500
Labor:
- Basic installation: $350-$570
- Timeline: 4-6 hours
Labor Total: $350-$570
Grand Total: $555-$1,070
for basic prefab installation
Cost-Saving Strategies That Don't Compromise Quality:
- Choose standard dimensions when possible (36"x36", 48"x48", 36"x60")
- Select mid-range waterproofing systems (Laticrete vs. Schluter = 20-30% savings)
- Bundle services with complete bathroom remodel for contractor discounts
- Time your project during slower seasons (May-June, September-October)
- Use tile-ready systems instead of full custom mud pans when appropriate
The Installation Process: Step-by-Step Timeline
| Timeline | Activities |
|---|---|
| Week 1: Days 1-2 |
Planning & Preparation Day 1: Initial Assessment
Day 2: Demolition & Prep
|
| Week 2: Days 3-7 |
Pan Installation (Mud Pan Method) Days 3-4: Pre-Slope & Liner
Days 5-6: Final Mortar Bed
Day 7: Waterproofing Walls
|
| Week 3: Days 8-12 |
Tile Installation
|
Common Installation Mistakes (And How to Avoid Them)
Mistake #1: Inadequate Pre-Slope
The Problem: Many installers skip or rush the pre-slope, leaving a flat surface under the liner. When water inevitably penetrates grout (which it will), it sits on the liner with nowhere to drain.
The Fix: Always create a 1/4" per foot pre-slope directing water to weep holes in the drain. This ensures any water reaching the liner can escape rather than creating a stagnant pool.
Mistake #2: Cut Corners on Liner
The Problem: Cutting liner corners creates instant leak points. Even small cuts compromise the entire waterproofing system.
The Fix: Fold corners accordion-style in overlapping layers. This maintains waterproof integrity while accommodating the 90-degree transition.
Mistake #3: Insufficient Liner Height
The Problem: Liner that doesn't extend 2" above threshold allows water to flow over the top, bypassing waterproofing entirely.
The Fix: Extend liner minimum 2" above finished threshold height on all sides. Secure to studs only above this height to prevent punctures.
Mistake #4: Fastening Through Liner Below Threshold
The Problem: Every nail or screw through the liner creates a potential leak point.
The Fix: Never fasten anything below the finished threshold height. Use construction adhesive if needed to secure curb blocking.
Mistake #5: Improper Drain Connection
The Problem: Loose or improperly clamped drain connections allow water to bypass the liner at the most vulnerable point.
The Fix: Use two-part clamp-style drains or proper solvent-weld connections per manufacturer specifications. Test thoroughly before proceeding.
Mistake #6: Skipping the Water Test
The Problem: Discovering leaks after tile installation requires complete demolition and restart.
The Fix: Always perform a 24-hour water test with 2" of water in the completed pan. Check all areas for moisture penetration before tiling.
Warning
Learn more about avoiding bathroom remodeling scams in Miami-Dade that cut these critical corners. Read our guide on questions to ask your bathroom contractor.
Waterproofing Systems Compared: Which Works Best in Hialeah?
For Traditional Homes (Pre-1990):
Best Choice: Custom Mud Pan with PVC Liner
Why? Older Hialeah homes often have:
- Non-standard framing dimensions
- Settled foundations requiring custom slopes
- Unique drain placements
- Solid construction that accommodates weight
Custom mud pans adapt to these irregularities while providing time-tested durability.
For Modern Construction (Post-2000):
Best Choice: Schluter Kerdi or Similar Bonded Membrane System
Why? Newer homes typically feature:
- Standard stud spacing and dimensions
- Level subfloors
- Engineered floor systems sensitive to weight
- Builders seeking faster installation
Modern membrane systems provide excellent results with reduced timeline and weight.
For Renovation Projects:
Best Choice: Tile Redi or Wedi Pre-Sloped Systems
Why? Renovation constraints include:
- Existing drain locations (expensive to relocate)
- Limited working timeline
- Occupied homes needing faster completion
- DIY-friendly installation processes
Pre-sloped systems minimize complexity while delivering reliable results.
For Accessible/ADA Showers:
Best Choice: Custom Mud Pan or Large-Format Tile-Ready Systems
Why? Accessible showers require:
- Custom dimensions for roll-in access
- Zero-threshold or minimal-threshold designs
- Gradual slopes across larger areas
- Reinforced construction for stability
Custom approaches accommodate these specialized requirements better than standard prefab options.
Florida-Specific Waterproofing Considerations
Humidity Management
South Florida's 75%+ average humidity creates unique challenges:
Moisture Migration: Even waterproofed showers in Florida experience moisture vapor movement. Install:
- Proper bathroom ventilation (100+ CFM exhaust fans)
- Vapor barriers behind cement board on exterior walls
- Moisture-resistant drywall (green board minimum, purple board preferred)
Mold Prevention: Apply additional protection:
- Mold-resistant grout (epoxy or urethane-based)
- Penetrating grout sealers applied annually
- Anti-microbial additives in mortar beds
- Regular cleaning with mold-preventive solutions
Hurricane Season Considerations
Miami-Dade's severe weather impacts bathroom installations:
Pressure Differential: Hurricane wind pressure can force water through microscopic gaps. Ensure:
- Complete waterproofing with no gaps
- Properly sealed fixture penetrations
- Tested drain connections
- Sealed curb transitions
Flood Risk: Ground-level bathrooms in flood-prone areas benefit from:
- Elevated electrical fixtures
- Water-resistant materials throughout
- Easily cleanable surfaces
- Flood vents if in FEMA flood zones
Maintenance: Protecting Your Investment
Monthly Maintenance Tasks:
Inspect Grout Lines:
- Check for cracks or missing grout
- Look for discoloration (water penetration indicator)
- Test with moisture meter if concerns arise
Check Drain Flow:
- Remove drain cover and clean hair trap
- Flush with hot water and mild cleaner
- Verify water drains quickly without pooling
Test for Movement:
- Walk around shower checking for flex
- Press on walls feeling for give
- Address any movement immediately (indicates support failure)
Annual Maintenance Tasks:
Reseal Grout:
- Clean thoroughly with pH-neutral cleaner
- Apply penetrating grout sealer
- Allow 24-hour cure before shower use
- Particularly critical in Florida's humidity
Deep Clean:
- Use mold-killing cleaners on all surfaces
- Scrub with soft brush (avoid abrasives)
- Rinse thoroughly
- Verify proper ventilation operation
Professional Inspection:
- Have licensed contractor inspect every 3-5 years
- Check for hidden water damage
- Verify waterproofing integrity
- Address issues before catastrophic failure
Frequently Asked Questions
Q: Can I install a shower pan myself, or do I need a licensed contractor?
A: Technically, Florida doesn't prohibit homeowner installation in your own residence. However, I strongly recommend hiring licensed professionals because:
- Improper installation voids manufacturer warranties
- Mistakes cost $10,000-$25,000+ to repair
- Permits require inspections (inspectors catch DIY errors)
- Insurance may not cover damage from improper installation
- Resale appraisals check for permitted work
If you're determined to DIY, at minimum hire a pro for the waterproofing phase.
Q: How long does a properly installed shower pan last?
A: Installation quality matters more than material choice:
- Custom mud pan with liner: 25-30+ years
- Schluter Kerdi system: 20-25 years (manufacturer 10-year warranty)
- Tile Redi/Wedi systems: 20-25 years
- Quality acrylic prefab: 15-20 years
- Budget fiberglass: 10-15 years
Florida's humidity doesn't significantly reduce these timespans if properly installed and maintained.
Q: Do I need a permit for shower pan replacement in Hialeah?
A: Yes, absolutely. Miami-Dade County requires permits for:
- Plumbing modifications (drain work)
- Structural changes (subfloor repairs)
- Waterproofing installations
- Any work exceeding $1,000
Permit costs run $150-$300 but provide:
- Professional inspection ensuring code compliance
- Documentation for home sale
- Insurance protection
- Legal protection
Q: What causes shower pans to fail?
A: The most common failure points:
- Improper slope - water pools instead of draining (40% of failures)
- Punctured liner - from fasteners or sharp objects (25%)
- Inadequate liner height - water flows over top (15%)
- Failed drain connection - improper clamping/sealing (10%)
- No pre-slope - water sits on liner causing rot (10%)
Nearly all failures trace to installation errors, not material defects.
Q: How do I know if my current shower pan is failing?
A: Warning signs include:
- Soft or spongy flooring outside shower
- Musty odor in bathroom or below
- Visible mold on walls adjacent to shower
- Cracked or loose tile on shower floor
- Water stains on ceiling below bathroom
- Peeling paint on walls near shower
- Cracks in grout that keep returning
If you notice any of these, have a licensed contractor inspect immediately. Water damage accelerates exponentially.
Q: Can shower pans be repaired, or must they be replaced?
A: It depends on the failure type:
Repairable:
- Minor grout cracks (regrout and reseal)
- Surface damage to tile or pan (refinish or replace tiles)
- Small leaks at drain (re-seal drain connection)
Requires Replacement:
- Cracked or punctured liner
- Rotted subfloor
- Inadequate slope
- Failed waterproofing system
- Structural damage
Unfortunately, most failures discovered after symptoms appear require complete replacement. By the time you notice problems, hidden damage typically exceeds repair viability.
Q: What's the difference between a shower pan and a shower base?
A: Technically, they're interchangeable terms, but industry usage varies:
- Shower pan typically refers to the waterproofing layer (liner + mortar system)
- Shower base usually means the finished surface you stand on (acrylic unit or tiled surface)
- Shower receptor is another term for a complete prefabricated unit
In conversation, most people use these terms interchangeably, and context makes the meaning clear.
Q: Do modern waterproofing systems work as well as traditional mud pans?
A: Yes—when properly installed. Schluter Kerdi, Wedi, and similar systems have proven track records spanning 15+ years in harsh climates worldwide, including Florida.
Key advantages:
- Bonded waterproofing (eliminates liner failure risk)
- Faster installation
- Lighter weight
- Manufacturer warranties
Traditional mud pans excel for:
- Custom/irregular dimensions
- Situations requiring precise drain positioning
- Contractors with specialized mud pan expertise
- Historic renovation maintaining period techniques
Both methods work excellently when installed by experienced professionals following proper procedures.
Choosing the Right Contractor for Your Hialeah Project
Essential Qualifications to Verify:
1. Proper Licensing:
- Florida Contractor License (check at MyFloridaLicense.com)
- Specialty certifications (Schluter, TCNA, etc.)
- Current and active status
- No major disciplinary actions
2. Insurance Coverage:
- General liability insurance ($1M minimum)
- Workers' compensation insurance
- Bonds (if required for project size)
- Current certificates of insurance
3. Local Experience:
- 5+ years serving Miami-Dade County
- Portfolio of local projects
- Understanding Florida Building Code
- Familiar with local inspectors and requirements
4. References:
- Minimum 3-5 recent customer references
- Verifiable past projects you can view
- Online reviews (Google, BBB, Angi)
- Local reputation and standing
Red Flags to Watch:
- Quotes significantly below market rates (30%+ lower)
- Pressure to skip permits ("save money")
- Cash-only payment demands
- No written contract or vague agreements
- Unwillingness to provide references
- No physical business address
- Requests for large upfront deposits (>25%)
Read our comprehensive guide on questions to ask your Hialeah bathroom remodeling contractor before signing any agreements.
Your Next Steps: Getting Started
Ready to move forward with shower pan installation? Here's your action plan:
Step 1: Assess Your Needs
- Determine shower dimensions
- Identify budget range
- Consider timeline constraints
- Evaluate accessibility requirements
Step 2: Research Options
- Review installation methods
- Compare system costs and benefits
- Consider DIY vs. professional installation
- Understand maintenance requirements
Step 3: Get Multiple Quotes
Contact 3-5 licensed contractors serving Hialeah for:
- Detailed written estimates
- Specific materials proposed
- Timeline projections
- Warranty information
- References from recent projects
Step 4: Verify Credentials
Before hiring, confirm:
- Active contractor license
- Current insurance coverage
- Better Business Bureau rating
- Online reviews and complaints
- References from past clients
Step 5: Plan for Success
- Schedule work during optimal weather
- Arrange alternative bathroom access
- Understand permit and inspection process
- Prepare space for contractor access
- Establish clear communication protocols
Protecting Your Hialeah Home Starts with the Foundation
Your shower pan isn't glamorous. Nobody visits your home and admires your waterproofing system. But it's arguably the single most important component of your entire bathroom—the foundation that protects your home from thousands of gallons of water over its lifespan.
Whether you choose a traditional mud pan, modern Schluter system, or convenient tile-ready base, the key to success is the same: proper installation by qualified professionals using quality materials designed for Florida's unique climate.
Don't let your bathroom become another South Florida water damage statistic. Invest in proper shower pan installation and waterproofing now, and your home will reward you with decades of reliable, leak-free service.
Ready to Protect Your Hialeah Home with Professional Shower Pan Installation?
Our licensed team specializes in custom shower construction throughout Hialeah, Miami Gardens, Pembroke Pines, and all of Miami-Dade County. We use proven waterproofing methods that stand up to Florida's toughest climate challenges.
About Bathroom Remodeling Hialeah
We're South Florida's trusted bathroom remodeling specialists, serving Hialeah, Miami Beach, Coral Springs, Miramar, and surrounding communities. Our licensed, insured contractors deliver expert shower pan installation, complete bathroom renovations, and custom shower solutions designed specifically for Florida's demanding climate.
Our Services
Complete bathroom remodeling, shower installations, tile work, and waterproofing solutions
Service Areas
Serving Hialeah, Miami Gardens, Pembroke Pines, Coral Springs, and all Miami-Dade County
Expert Resources
Cost guides, installation tips, maintenance advice, and Florida building code information